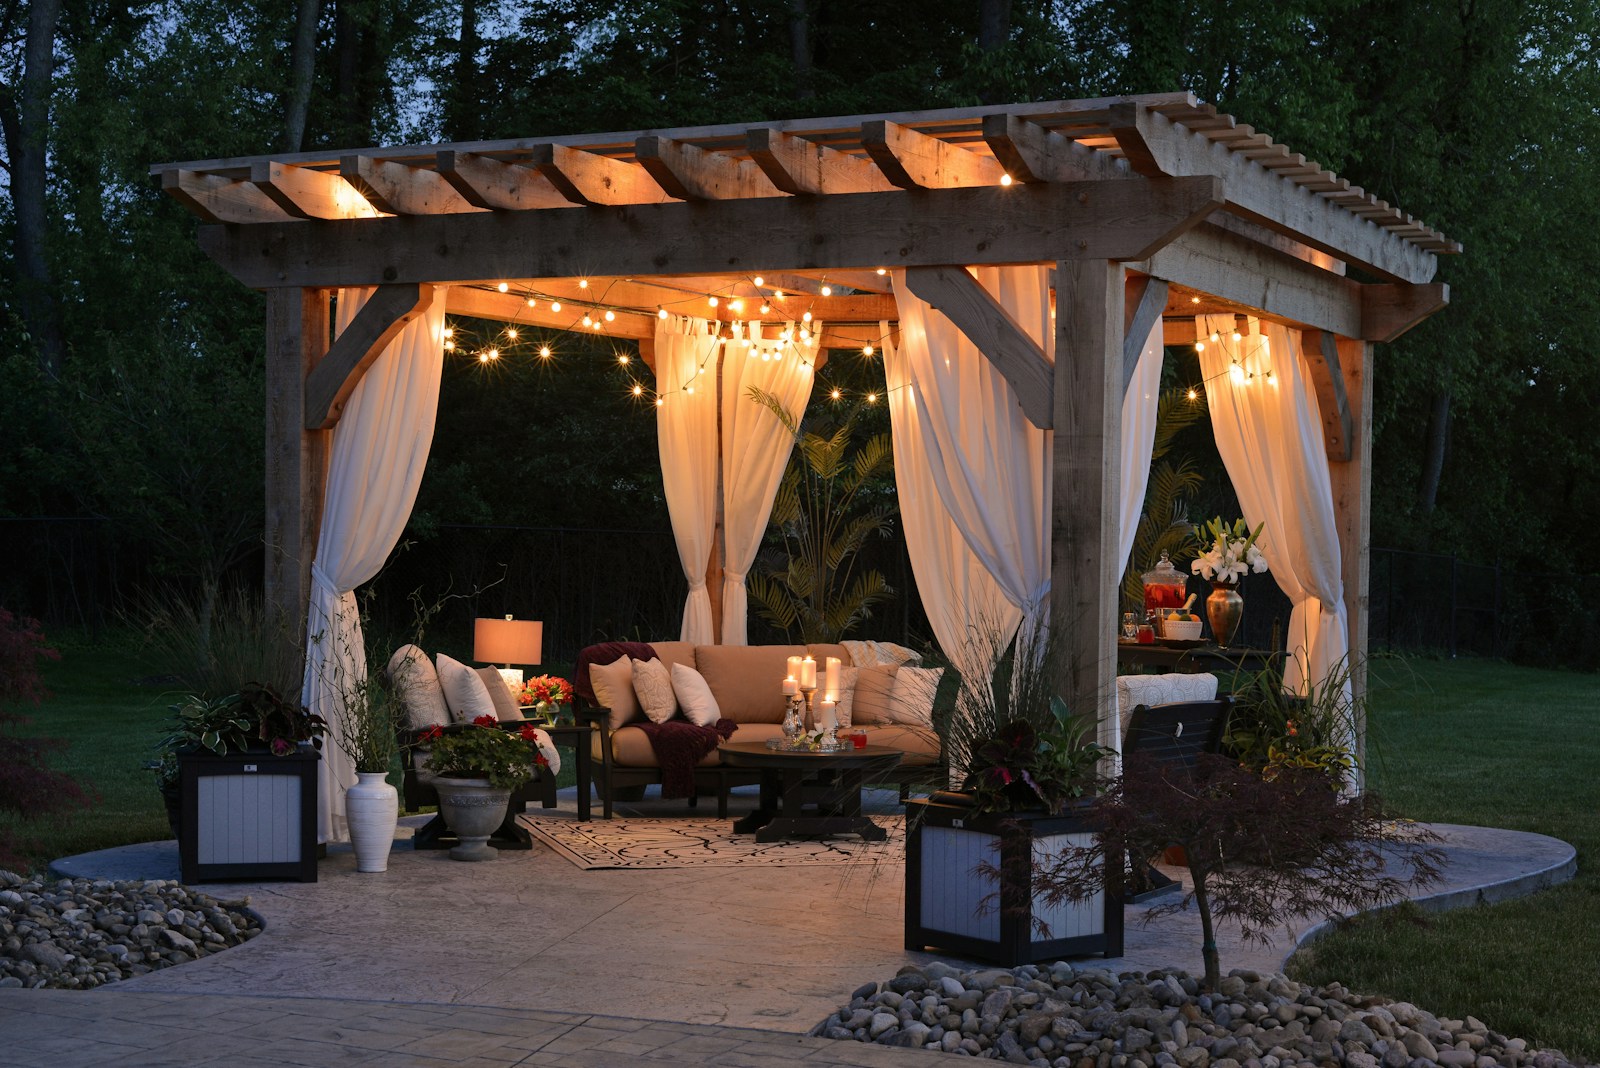
Building a patio in your own garden can transform your outdoor space into a functional and inviting area for relaxation and entertainment. This step-by-step guide covers essential considerations, materials, and construction techniques to help you create a beautiful patio that enhances your home.
Step by Step: Building a Patio in Your Own Garden
Building a patio involves careful planning, preparation, and execution to ensure durability and aesthetic appeal. Follow these steps to create a stunning outdoor retreat right in your own backyard.
Planning Your Patio Project
- Design and Layout: Begin by determining the size, shape, and placement of your patio. Consider factors such as sunlight, existing landscaping, and desired use (e.g., dining area, lounge space).
- Permits and Regulations: Check local building codes and obtain any necessary permits before starting construction to ensure compliance with regulations.
Choosing Materials
Selecting the right materials is crucial for the longevity and style of your patio.
- Paving Materials: Choose from a variety of materials such as concrete pavers, natural stone (e.g., flagstone, slate), brick, or composite decking. Consider durability, maintenance requirements, and aesthetic preferences.
- Base Preparation: Prepare a sturdy base for your patio by excavating the area to the required depth (typically 4-6 inches), ensuring proper drainage, and compacting the soil or adding a base layer of crushed gravel.
Construction Techniques
Follow these steps to build your patio:
- Laying the Foundation: Spread a layer of gravel or sand over the compacted base to create a stable foundation for the paving stones or bricks.
- Installing Pavers or Stones: Lay out your chosen paving material according to your design. Start from one corner and work your way across, ensuring each piece is level and tightly fitted against neighboring stones.
- Cutting and Shaping: Use a wet saw or chisel to cut paving stones as needed to fit around edges, curves, or obstacles.
- Edging and Borders: Install edge restraints such as plastic or metal paver edging to secure the perimeter of your patio and prevent shifting over time.
Finishing Touches
Complete your patio project with these final steps:
- Jointing Material: Fill the gaps between pavers or stones with polymeric sand, which hardens when wet to create a stable surface that resists weed growth and insect infestation.
- Sealing (Optional): Consider applying a sealant to protect natural stone or enhance the color of concrete pavers. Follow manufacturer instructions for application and maintenance.
Tip
Before starting your patio project, create a detailed plan that includes measurements, materials list, and a timeline. This preparation will help streamline the construction process and ensure a successful outcome for your new outdoor space.
My Personal Experience Building a Patio
In my own garden, I opted for natural stone pavers due to their durability and timeless appearance. Taking time to plan the layout and prepare a solid base ensured the patio has remained stable and beautiful over the years, providing a versatile outdoor space for gatherings and relaxation.
Conclusion
Building a patio in your garden is a rewarding project that enhances your outdoor living experience. By following these steps—from planning and material selection to construction and finishing touches—you can create a functional and aesthetically pleasing patio that complements your home and lifestyle.
Frequently Asked Questions
- How long does it take to build a patio? The time to build a patio varies depending on size, complexity, and weather conditions. A small patio can be completed in a few days, while larger projects may take a week or more.
- What is the best material for a low-maintenance patio? Concrete pavers or composite decking are popular choices for low-maintenance patios due to their durability and minimal upkeep requirements.
- Do I need professional help to build a patio? While DIY patio construction is possible for many homeowners, hiring a professional landscaper or contractor may be beneficial for complex designs or larger projects.
Sources
About me:
I’m Emmely, a home improvement enthusiast with a passion for budget-friendly makeovers. With years of experience in DIY projects and a love for creative solutions, I enjoy sharing tips and tricks to help others transform their spaces without breaking the bank. I believe that a beautiful home doesn’t have to be expensive, and small changes can make a big impact.


